
728x90
반응형
react-chatbot-kit 이용하여 챗봇 UI 구현하기
이전 글: [React] Vite + React로 프로젝트 시작하기
Vite+React 프로젝트에서 react-chatbot-kit 라이브러리를 이용해서 챗봇 기능을 구현하기로 하였다.
기본적으로는 작은 크기의 화면으로 뜨는 챗봇인데, CSS를 커스터마이징 하면 늘릴 수 있을 것이라 생각했다. (생각보다 쉽지 않았다..)
공식 문서 참고
- https://fredrikoseberg.github.io/react-chatbot-kit-docs/
- 설치 시 npm install 대신 yarn add 이용
css 커스터마이징
- 참고: https://fredrikoseberg.github.io/react-chatbot-kit-docs/docs/advanced/configuring-css/
- 웹페이지 개발자 모드에서 classname을 확인하면서 수정했다.
- 각 classname이 어딜 의미하는지 알아야 원하는 부분을 조정할 수 있다.
내 프로젝트에서는 이런 식으로 활용하였다.
깃허브 레포: https://github.com/SWSchool-Straight/Chatbot_FE.git
src/styles/chatbot-custom.css
.react-chatbot-kit-chat-container {
  width: 100%; /* 부모의 너비를 가득 채움 */
  height: 100%; /* 부모의 높이를 가득 채움 */
  min-height: 700px !important;  /* 최소 높이 설정 */
  display: flex;
  flex-direction: column; /* 필요에 따라 설정 */
  position: relative; /* 자식 요소의 절대 위치 기준점 */
}

.react-chatbot-kit-chat-inner-container {
  height: 100% !important;
  min-height: calc(100vh - 200px);
  display: flex;
  flex-direction: column; /* 세로로 쌓기 */
  justify-content: space-between; /* 메시지 영역과 입력창을 위아래로 배치 */
  position: relative; /* 상대 위치 설정 */
}

/* 메시지 영역 크기 조정 */
.react-chatbot-kit-chat-bot-message-container {
  display: flex;
  align-items: flex-start; /* 메시지 박스를 왼쪽 정렬 */
  width: fit-content;
}

.react-chatbot-kit-chat-message-container {
  flex: 1; /* 남은 공간을 모두 차지하도록 설정 */
  min-height: 0; /* 최소 높이를 0으로 설정하여 스크롤이 정상 작동하도록 함 */
  max-height: calc(100vh - 300px);
  overflow-y: auto !important;
  margin-bottom: 5px; /* 입력창과의 간격 */
}

/* 입력창 컨테이너 크기 조정 */
.react-chatbot-kit-chat-input-container {
  width: 100%;
  display: flex; /* Flexbox로 정렬 */
  justify-content: center; /* 가로 중앙 정렬 */
  align-items: center; /* 세로 중앙 정렬 */
  padding: 10px 0px;
  background-color: #f9f9f9; /* 배경색 추가 */
  border-top: 1px solid #ccc; /* 상단 구분선 */
  flex-shrink: 0; /* 크기가 줄어들지 않도록 설정 */
  position: relative; /* 상대 위치 설정 */
}

.react-chatbot-kit-chat-input {
  flex: 1;
  max-width: 100%;
  font-size: 16px;
  border: 1px solid #ccc;
  border-radius: 8px;
  padding: 10px;
  margin-right: 10px;
}

.react-chatbot-kit-chat-input-form {
  display: flex; /* Flexbox로 정렬 */
  justify-content: center;
}

.react-chatbot-kit-chat-input::placeholder {
  color: #aaa;
}

/* 전송 버튼 스타일링 */
.react-chatbot-kit-chat-btn-send {
  max-width: 70px;
  color: white;
  padding: 10px 20px;
  border: none;
  border-radius: 5px;
  cursor: pointer;
  justify-content: center;
}

.react-chatbot-kit-chat-btn-send:hover {
  background-color: #0056b3;
}

.react-chatbot-kit-chat-bot-message {
  justify-content: left;
  width: fit-content;
  max-width: 700px;
  white-space: pre-line;  /* 줄바꿈 허용 */
}
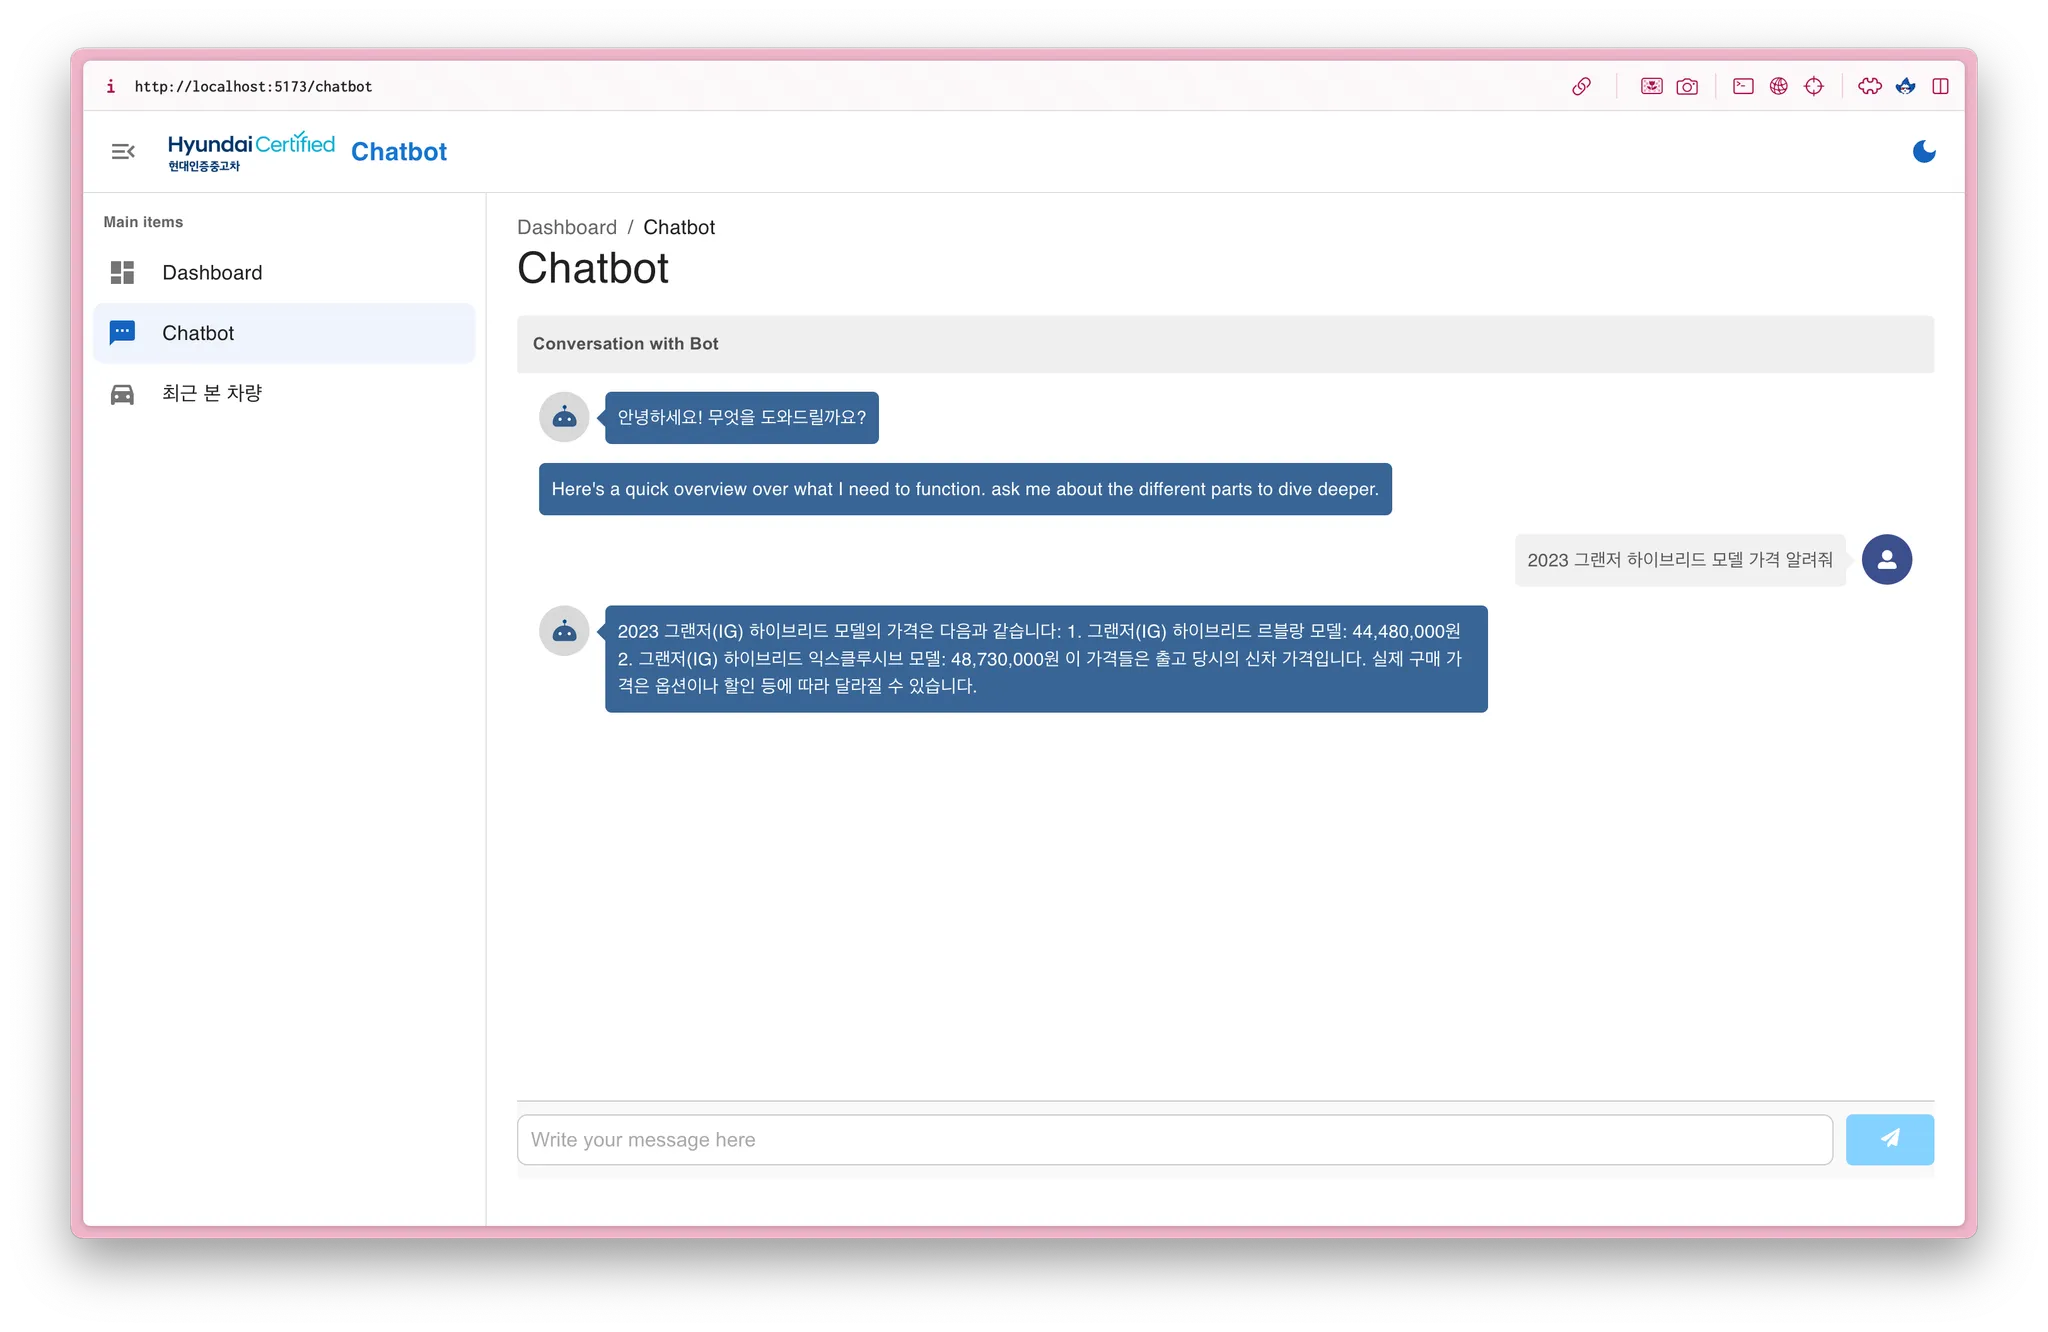
위의 스크린샷처럼 대시보드처럼 하는 건 이 글에 담았다!
[Web] MUI Toolpad Core를 이용한 대시보드 페이지 만들기(Vite+React)
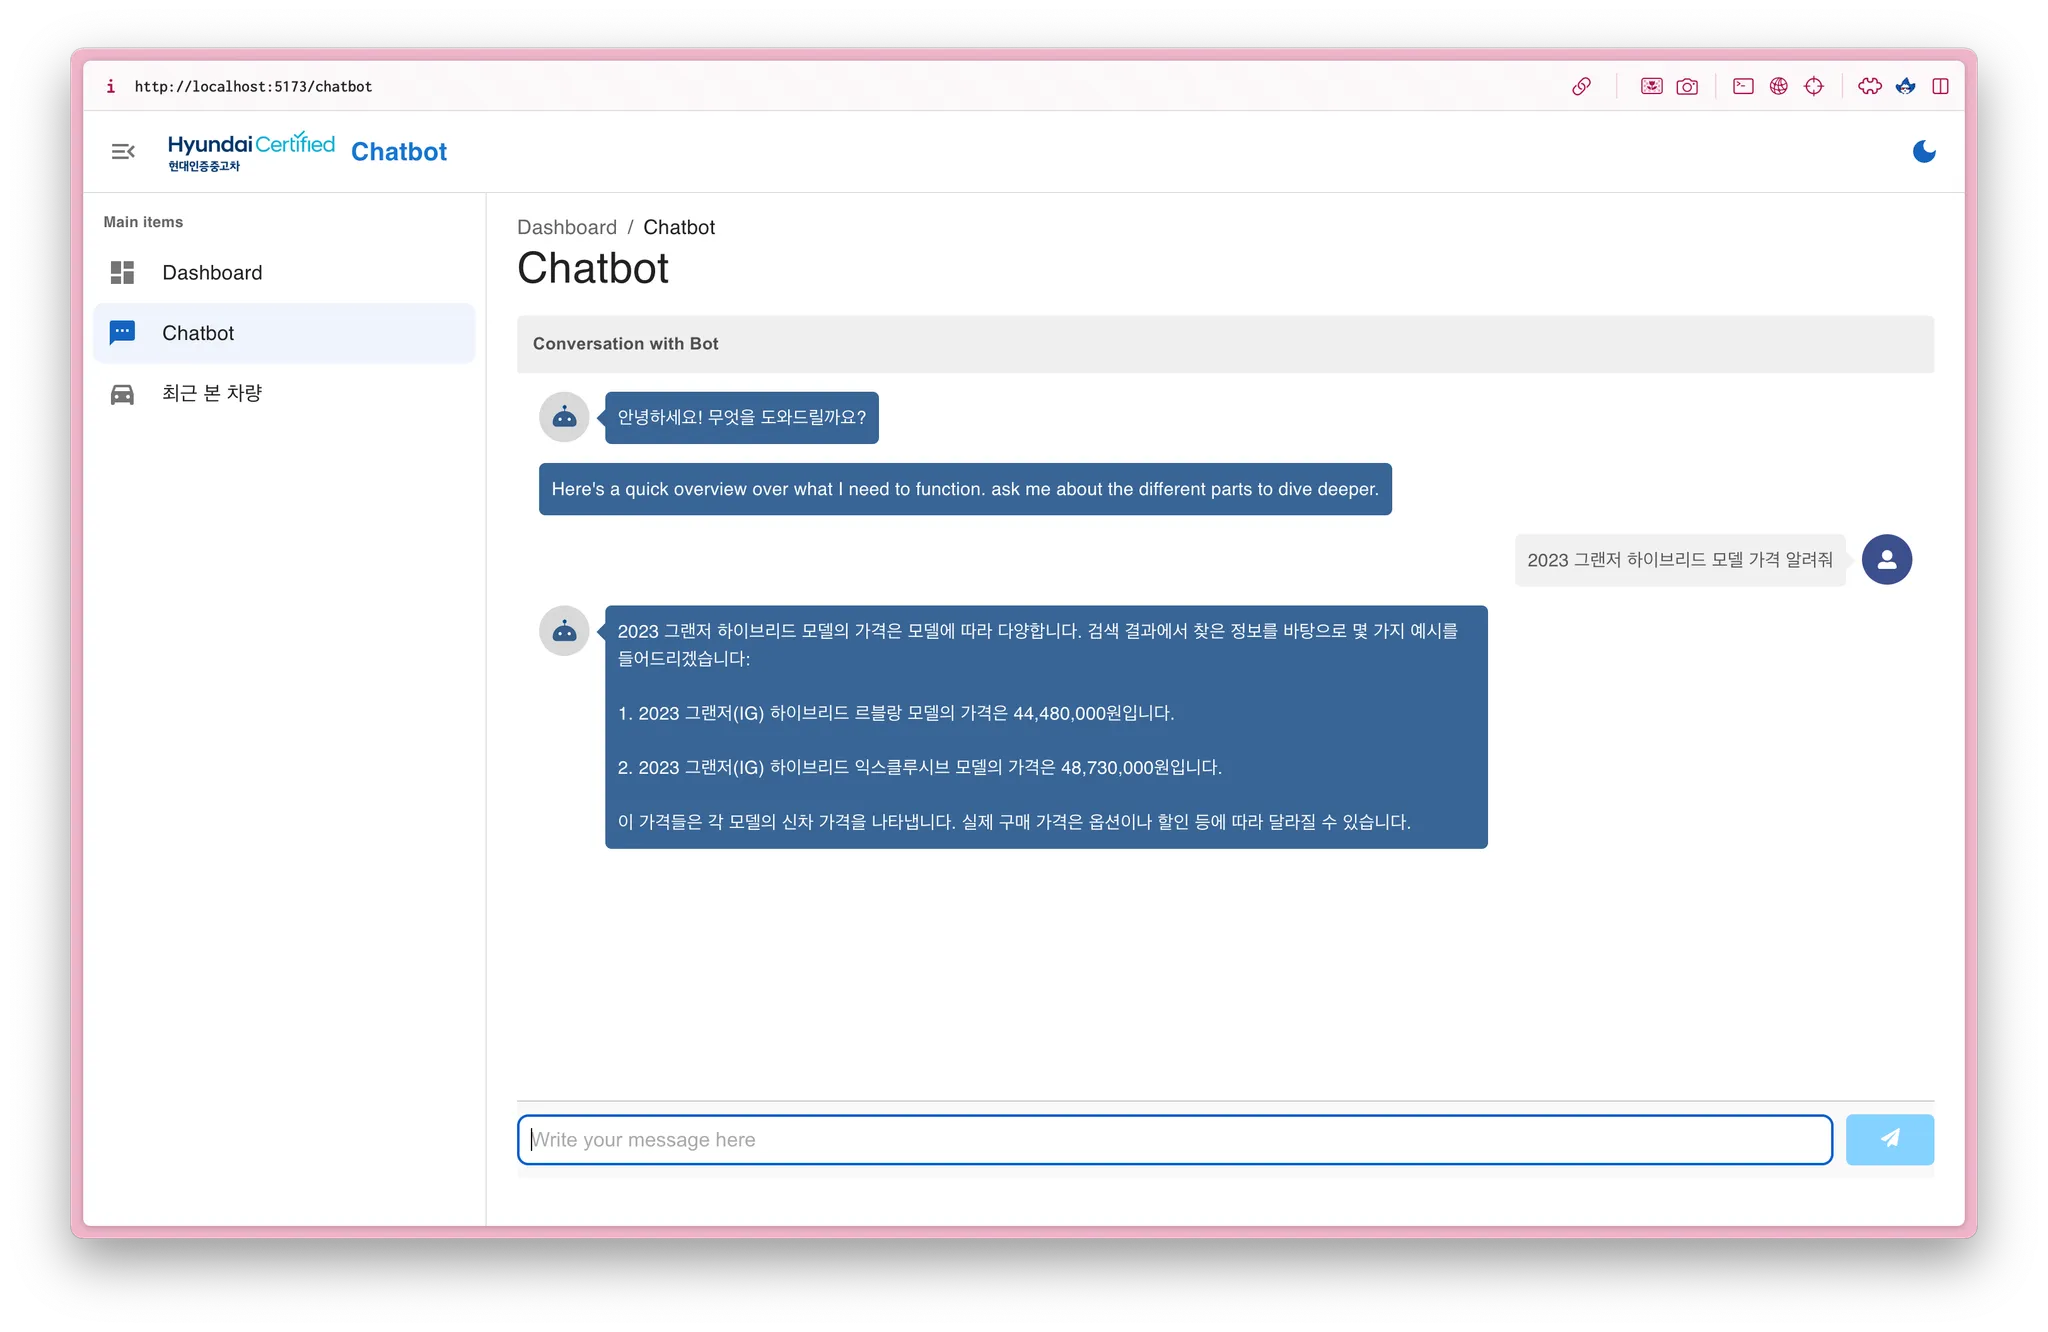
챗봇 답변 줄바꿈 허용
css 수정에서 줄바꿈 허용 추가
.react-chatbot-kit-chat-bot-message {
  justify-content: left;
  width: fit-content;
  max-width: 700px;
  white-space: pre-line;  /* 줄바꿈 허용 */
}
728x90
반응형